

Buy balloons on Amazon (paid link):
Buy an air pump on Amazon (paid link):

Twist the first about 12 cm bubble.

Twist the second about 5-6 cm bubble.

Lock both ends of the second bubble in one lock twist. It is the muzzle of the pig. Twist the third bubble of the same size as the first bubble.

Lock both ends of the chain of the first three bubbles in one lock twist. You have to tie the free end of the last bubble with the nozzle of the balloon.

Twist the next bubble of the same size as the first bubble.

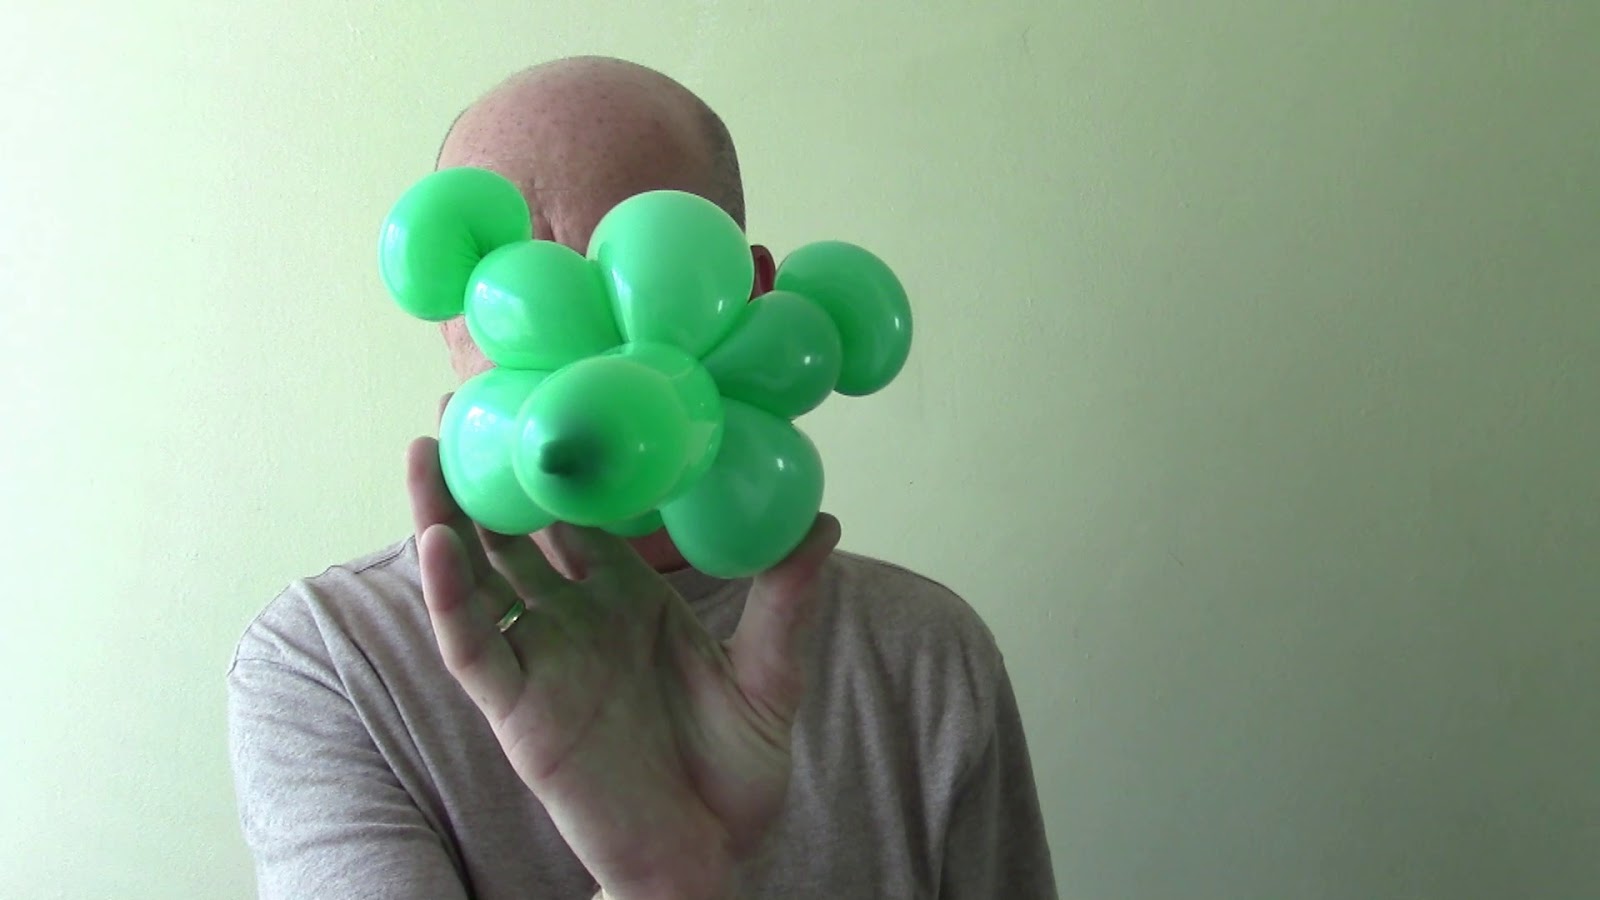
Lock the free end of the last bubble with the muzzle bubble. We have made the foundation of the head. The three large bubbles represents two cheeks and the top of the head.

Here is the back view.

Here is the front view.

Twist the next about 4-5 cm bubble.

Twist the next about 3-6 cm bubble.

Lock both ends of the last bubble in one lock twist. It is an ear.

Twist the next about 4-5 cm bubble.

Lock the free end of the last bubble with the nozzle of the balloon. You may force the chain of the last three bubbles between the cheek and the top bubble of the head.

Here is the back view.

Here is the front view.

Twist the next about 4-5 cm bubble. Twist the next bubble of the same size as you made the first ear bubble.

Lock both ends of the last bubble in one lock twist. It is the second ear. Twist the next about 4-5 cm bubble.

Lock the free end of the chain of the last three bubbles with the muzzle bubble. You may force the chain of the last three bubbles between the cheek and the top bubble of the head. Here is the view from the back.

Here is the view from the front. Now I want to make the piggy chubbier.

Twist the next about 7 cm bubble.

Force the last bubble between two bubbles of the cheeks.

Lock the free end of the last bubble with the nozzle of the balloon.

We have made the head of the piggy. Here is the front view.

Here is the view from the back.
Here is the view from the side. We can use the rest of the balloon as a neck or as attachment to some other balloon sculpture (body of the pig).

Let's cut off the rest of the balloon and tie the end with the nozzle of the balloon. Here is the side view.

Here is the view from the back.

I use white correction liquid as base to paint the eyes and the muzzle of the pig.


Then I use a black permanent marker to draw over the white muzzle and eyes.

Congratulations! We have made the one balloon angry piggy.

Here is the bottom view.

Here is the back view.

We can make it as a bracelet using one flat balloon.

Force ends of the flat balloon between bubbles of the head from bottom.

Make sure the loop of the flat balloon is appropriate size for your arm.

Pull you arm through the loop of the flat balloon. Congratulations again! We have made balloon angry piggy bracelet.

Here is the view from the back.


No comments:
Post a Comment