

Materials: one balloon, an air pump, scissors, white correction liquid and black and red permanent markers.
Buy balloons on Amazon (paid link):
Buy an air pump on Amazon (paid link):
Inflate a yellow balloon leaving about 7 - 8 cm flat tail (Pic 1).

Tie the balloon about 0.5 - 1 cm away from the nozzle (Pic 2).

Twist the first four about 3 cm bubbles (Pic 3).

Lock both ends of the chain of the first four bubbles in one lock twist (Pic 4).

Twist about 8 cm bubble (Pic 5).

Lock the free end of the last bubble between the second and the third bubbles (Pic 6 and 7).


Measure about 3 hands from the last bubble (Pic 8). It's going to be a tail.

Twist about 25 cm long bubble. Twist the next about 3 cm bubble (Pic 9).

Lock both ends of the last small bubble in one lock twist (Pic 10).

Cut off nicely the rest of the balloon (keep it inflated) and tie off the end (Pic 11). We are going to use the rest of the balloon to make the head and the ears.

Twist two about 8 cm bubbles (Pic 12).

Lock both ends of the chain of this two bubbles in one lock twist (Pic 13).

Cut off nicely the rest of the balloon (keep it inflated) and tie off the end (Pic 14). We are going to use the rest of the balloon to make two ears.

Use scissors to trim off all ends (Pic 15).

We have made all parts of the sculpture (Pic 16). Now we have to assemble it.

Pull the nozzle of the balloon between two bubbles of the head (Pic 17 and 18).


Split the rest of the balloon on two bubbles of the same size (Pic 19). We have made the ears.

Tie the nozzle of the balloon between ears (Pic 20 and 21).


Bend the tail to shape it properly (Pic 22).

Force the base of the tail between small bubbles on the back of the sculpture (Pic 23 - 25). Basically, we have already made the Pikachu. We can keep it as it is - it's recognizable as it is.


Though, if you are in artistic mood then you may paint or draw some details. I use white correction liquid to paint the base for the eyes, mouth (if it's open) and cheeks (Pic 26 and 27).


Then I use the black permanent marker to paint the eyes, lips and ends of ears. And I use the red marker to paint the cheeks and open moth (Pic 28 and 29).


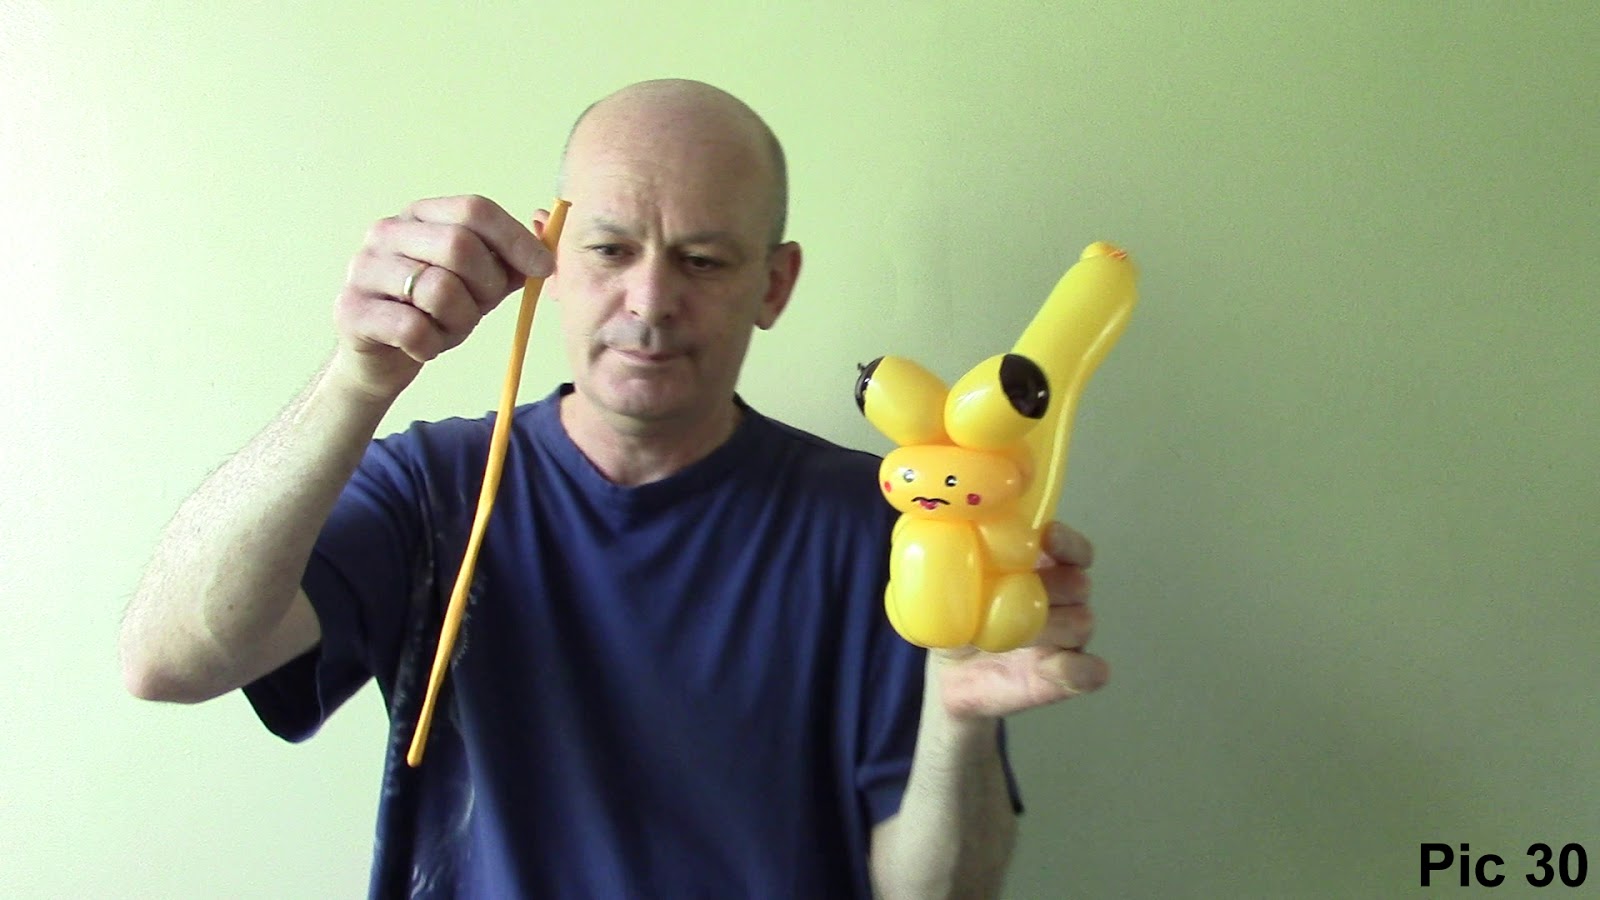
Pikachu likes to travel on his trainer arm or shoulder. We can help it with additional balloon (Pic 30).
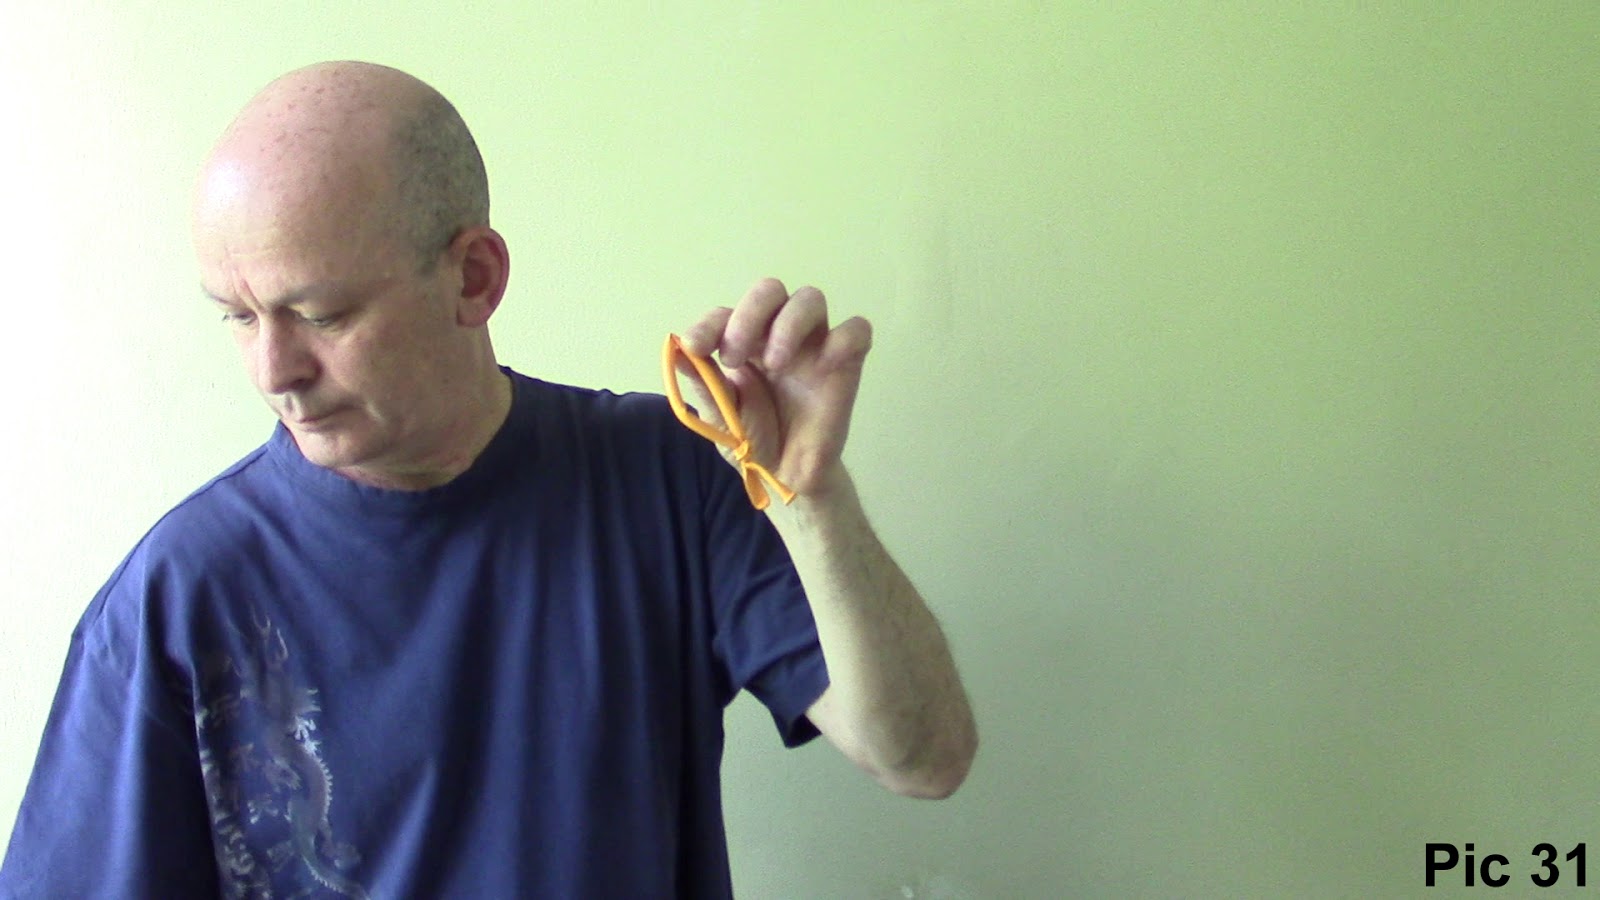
Tie ends of flat balloon making a loop large enough for you to pull your hand through it (Pic 31).
Pull the Pikachu's tail through the loop all the way to the base of the tail. Fix the tail in proper position. And then pull your hand through the loop. Fix it all nicely (Pic 32).

Congratulations again! We have made Pikachu using one balloon. Have fun and happy twisting :)
😍
ReplyDeleteHi I really appreciate your all efforts which is specially for the Balloon Twisting it's a great help for me.
ReplyDeleteBalloon Twisting
My pleasure!
DeleteThank you very much!
I love this! Just made my first Pikachu after getting a balloon animal kit for Christmas yesterday. I'm going to be the hit of all of my friends' video game parties!
ReplyDeleteGreat!
DeleteHappy Holidays to you and your family!!