

Buy balloons on Amazon (paid link):
Buy an air pump on Amazon (paid link):
Inflate a red balloon leaving about 10 cm flat tail (Pic 1).

Twist the first about 18 cm bubble. Twist the second about 3 cm bubble. Twist the third about 3 cm bubble (Pic 2).

Lock all ends of the second and the third bubbles in one lock twist (Pic 3). We have made the base of the beak.

Fold the rest of the balloon next to the first bubble (Pic 4 and 5).

Hold together the rest of the balloon with the first bubble about 5 - 7 cm away from the nozzle of the balloon (Pic 5).
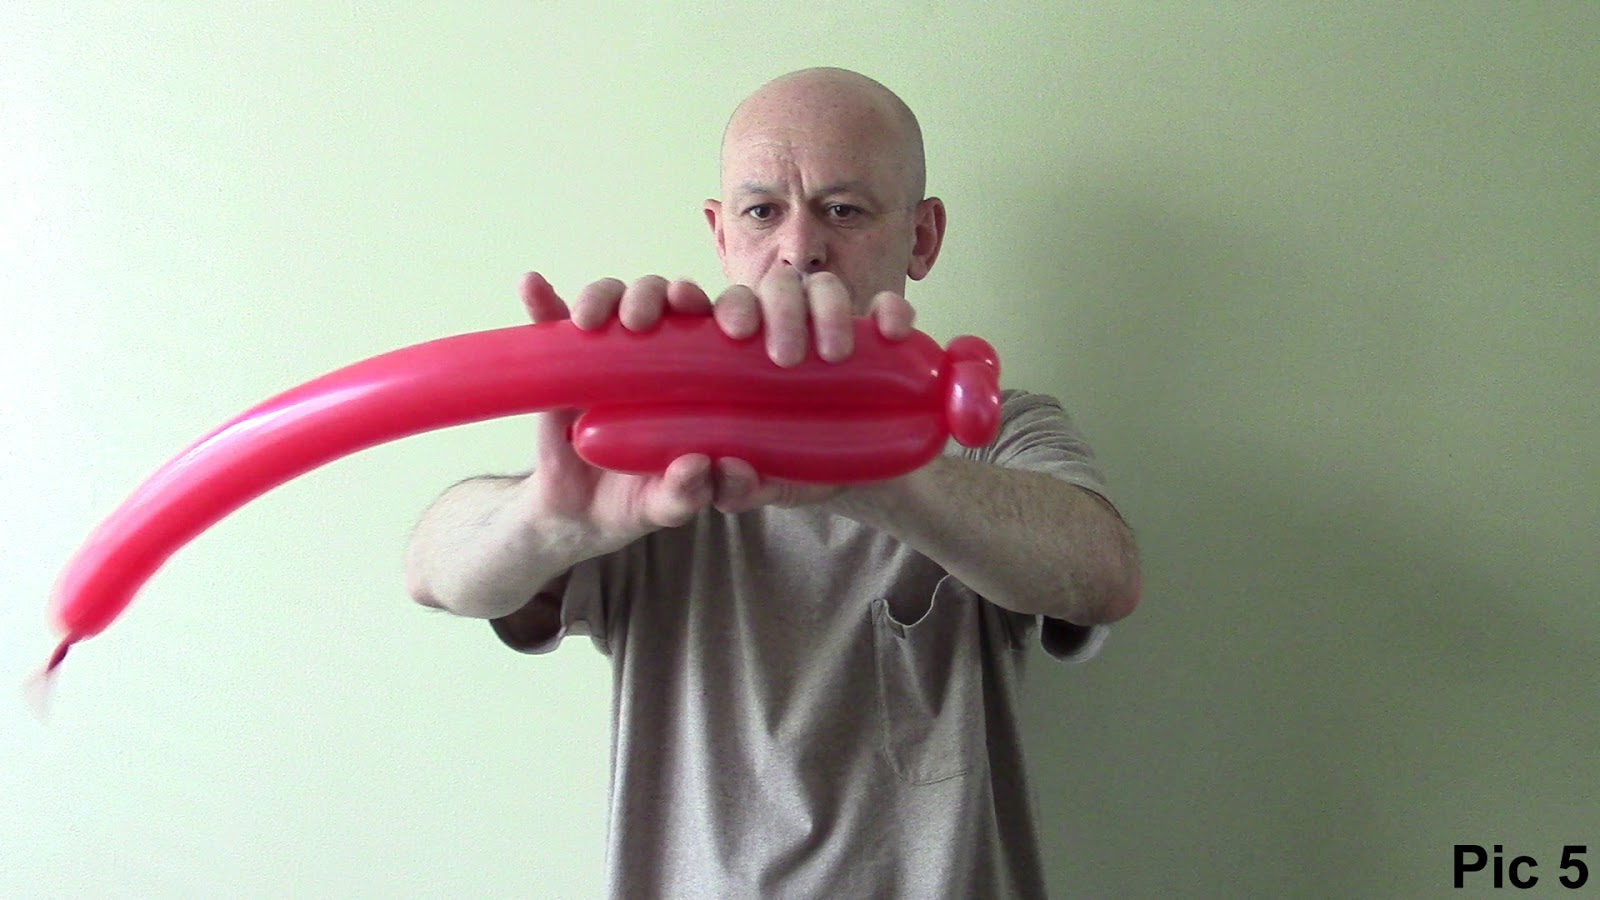
Twist both parts of the balloon together at this point. We split the first bubble on two bubbles. The first short bubble represents a part of the tail. The first long bubble represents a part of the body or wings. At the same time we made the next bubble and locked it with the body bubble (Pic 6). We should twist all body (long) bubbles of about the same size.

Measure and twist the next body bubble (Pic 7).

Lock the free end of the last bubble between the two small bubbles - base of the beak (Pic 8).

Now we are going to make the top part of the sculpture. Twist the next about 6 - 7 cm bubble. Twist the next about 5 - 6 cm bubble (Pic 9).

Lock both ends of the last bubble in one lock twist (Pic 10).

Twist the next about 3 cm bubble (Pic 11).

Lock both ends of the last bubble in one lock twist (Pic 12).

Fold the last three bubbles between bubbles of the body to measure size of the next bubble (Pic 13).

Measure and twist the next bubble (Pic 14). Make it long enough to reach the tail bubble. In this example I made it about 6 - 8 cm long.

Lock the free end of the last bubble with the tail bubble (Pic 15). We have made the top of the sculpture. And basically, we have already made the bird body :)

Sure, we can add a couple more bubbles for good measure. Fold the rest of the balloon between bubbles of the body to measure the next bubble (Pic 16).

Twist the next bubble (Pic 17).

Lock the free end of the last bubble between small bubbles of the beak base (Pic 18 and 19). If one of the large bubbles of the body is slightly larger or smaller than other bubbles, than I would move it to the bottom of the sculpture.


Fold the rest of the balloon between bubbles of the body to measure the size of the next bubble. Twist the next bubble (Pic 20).

Lock the free end of the last bubble with the tail bubble. The rest of the balloon is the second tail bubble. We have made the bird without the beak (Pic 21 - 24).


Let's make the beak. We are going to use small part of the yellow balloon to make the beak. So, you can use a piece of some broken yellow balloon for this purpose. Inflate the yellow balloon making at least about 15 cm bubble (Pic 25).

Tie the nozzle of the yellow balloon to the base ( the small red bubbles) of the beak (Pic 26).

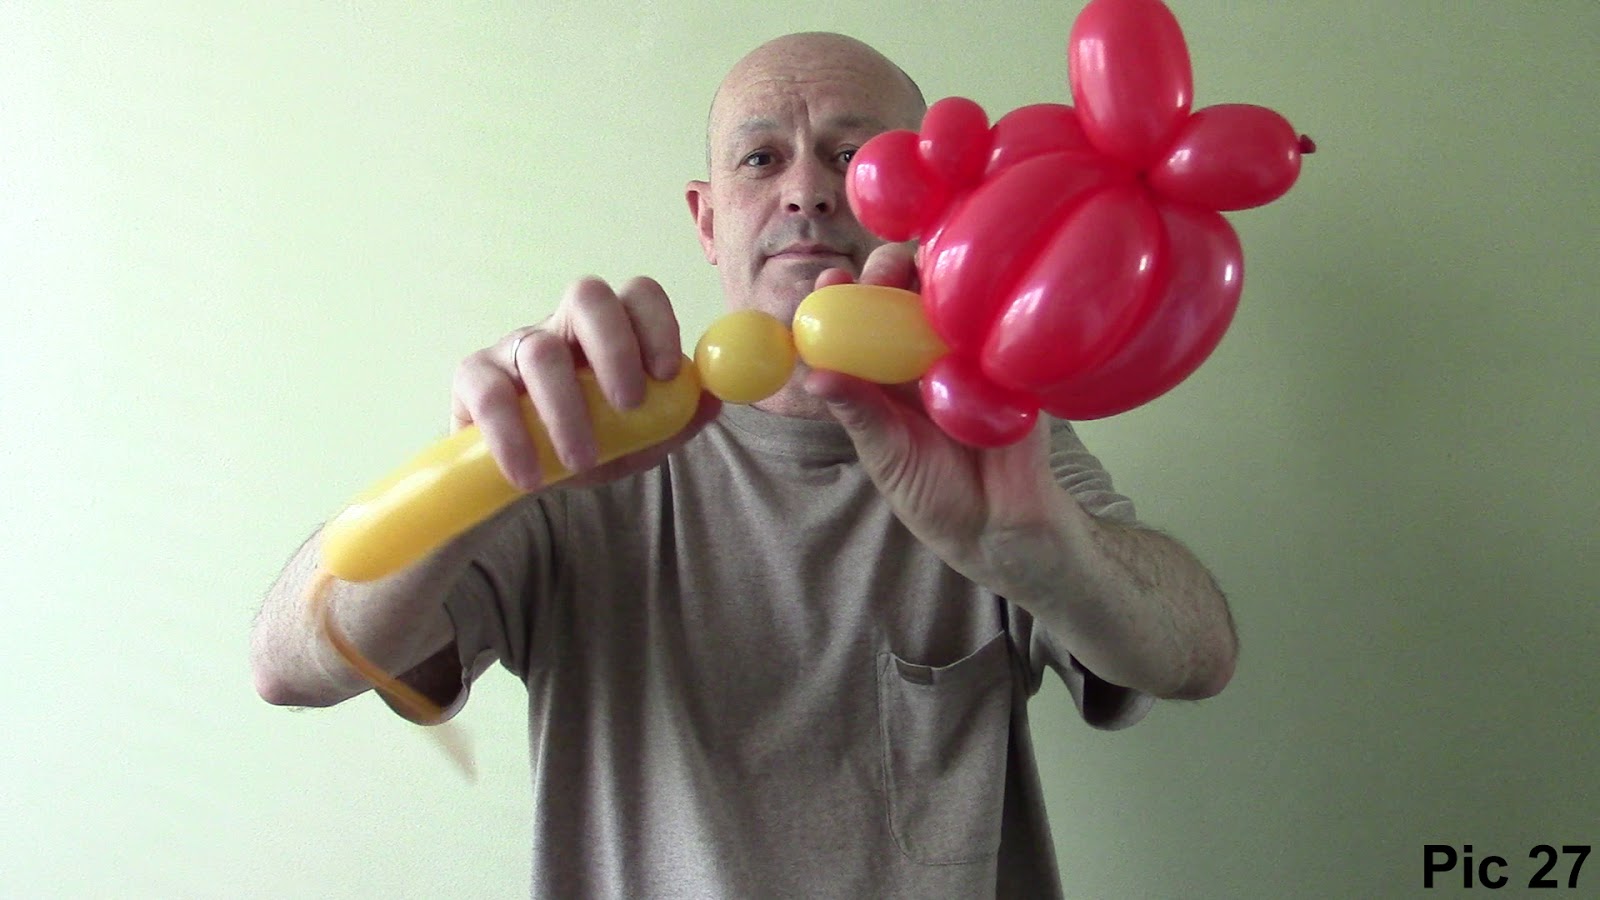
You have to make the beak of proportional size to the body of the bird. In this example I twist the first yellow bubble of about 10 - 12 cm size. Twist the second yellow bubble much smaller - of about 3 - 4 cm size (Pic 27).
Lock both ends of the chain of the first two yellow bubbles in one lock twist (Pic 28).

Cut off the rest of the yellow balloon and tie off the ends. Fix all bubbles in proper positions (Pic 29 - 32). We have made the bird with the beak.


I am going to use white correction liquid as a base paint for the eyes and eyebrows (Pic 33).

Paint the eyes and eyebrows (Pic 34).

I use a black permanent marker to color the eyes and eyebrows (Pic 35 - 37).

Congratulations! We have made balloon angry bird.


You can use the rest of the yellow balloon to make a bracelet (Pic 38).

Force ends of the flat yellow balloon at the bottom between red bubbles of the body. Pull you hand through the loop of the yellow bubble. Fix the angry bird in a nice position on your arm (Pic 39 - 41).


Have fun and happy twisting :)

No comments:
Post a Comment