

Supplies: balloons and an air pump.
Buy balloons on Amazon (paid link):
Buy an air pump on Amazon (paid link):
Inflate a balloon leaving about 14 cm flat tail.

Twist a chain of the first two about 2 cm bubbles.

Lock both ends of the first two bubbles in one lock twist.
We have made the lips of the horse.

Here is the front view.

Twist the next about 6-8 cm bubble.
It is the muzzle of the horse.
Twist the next about 2-3 cm bubble.

Lock both ends of the last bubble in one lock twist.
This bobble can represent ears or bang.
Here is the front view.

Here is the side view.

Twist the next about 8 cm bubble.
It is the neck.

Twist a chain of the next six about 2 cm bubbles.

Lock both ends of the chain of the last six bubbles in one lock twist.


Lock the middle of the chain of the last six bubbles with the ears/ bang bubble.
You have to force the neck bubble through the loop of the last six bubbles.

We have made the mane of the horse.
Here is the side view.

It is the back view.

Twist a chain of the next two about 10 cm bubbles.

Lock both ends of the chain of the last two bubbles in one lock twist.
We have made the front legs.

Twist the next about 8 cm bubble.
It is the body.
Twist a chain of the next two about 10 cm bubbles.

Lock both ends of the chain of the last two bubbles in one lock twist.
We have made the rear legs.
The rest of the balloon is the tail of the horse.

Congratulations! We have made a horse using one balloon.

You can use this sculpture as it is.

Or we can make it the rocking horse balloon hat!

Inflate another balloon leaving about 6 cm flat tail.


Twist the first about 3 cm bubble.

Lock both ends of the first bubble in one lock twist.
Measure the size of the next bubble.
It should be a couple centimetres longer than the distance between legs of the horse.

Twist the next next bubble of the size you measured.
Twist the next about 3 cm bubble.

Lock both ends of the last bubble in one lock twist.
Twist the next bubble of the same size as the second bubble.

Lock both ends of the chain of the last three bubbles in one lock twist.

Bend the long bubbles to give them desirable shape.

We have made the base for the rocking horse.

Now we have to attach the horse to the base.

Attach the horse looking away from the tail of the second balloon!

Force the third (small) bubble of the second balloon between front legs of the horse.


Force the first (small) bubble of the second balloon between the rear legs of the horse.

Congratulations again! We have made the rocking horse.
Here is the front view.

Here is the side view.

Now let's rock it even more!
We are going to make the rocking horse hat!
Squeeze the rest of the second balloon to get rid of any flat tail.


Twist about 3 cm bubble at the end of the second balloon.


Wrap the second balloon around your head to measure the size of the next bubble.
Twist the next bubble measuring it from the last bubble at the end of the second balloon.

Lock both ends of this long bubble in one lock twist.
Congratulation! We have made the Rocking Horse balloon hat.
Here is the back view.

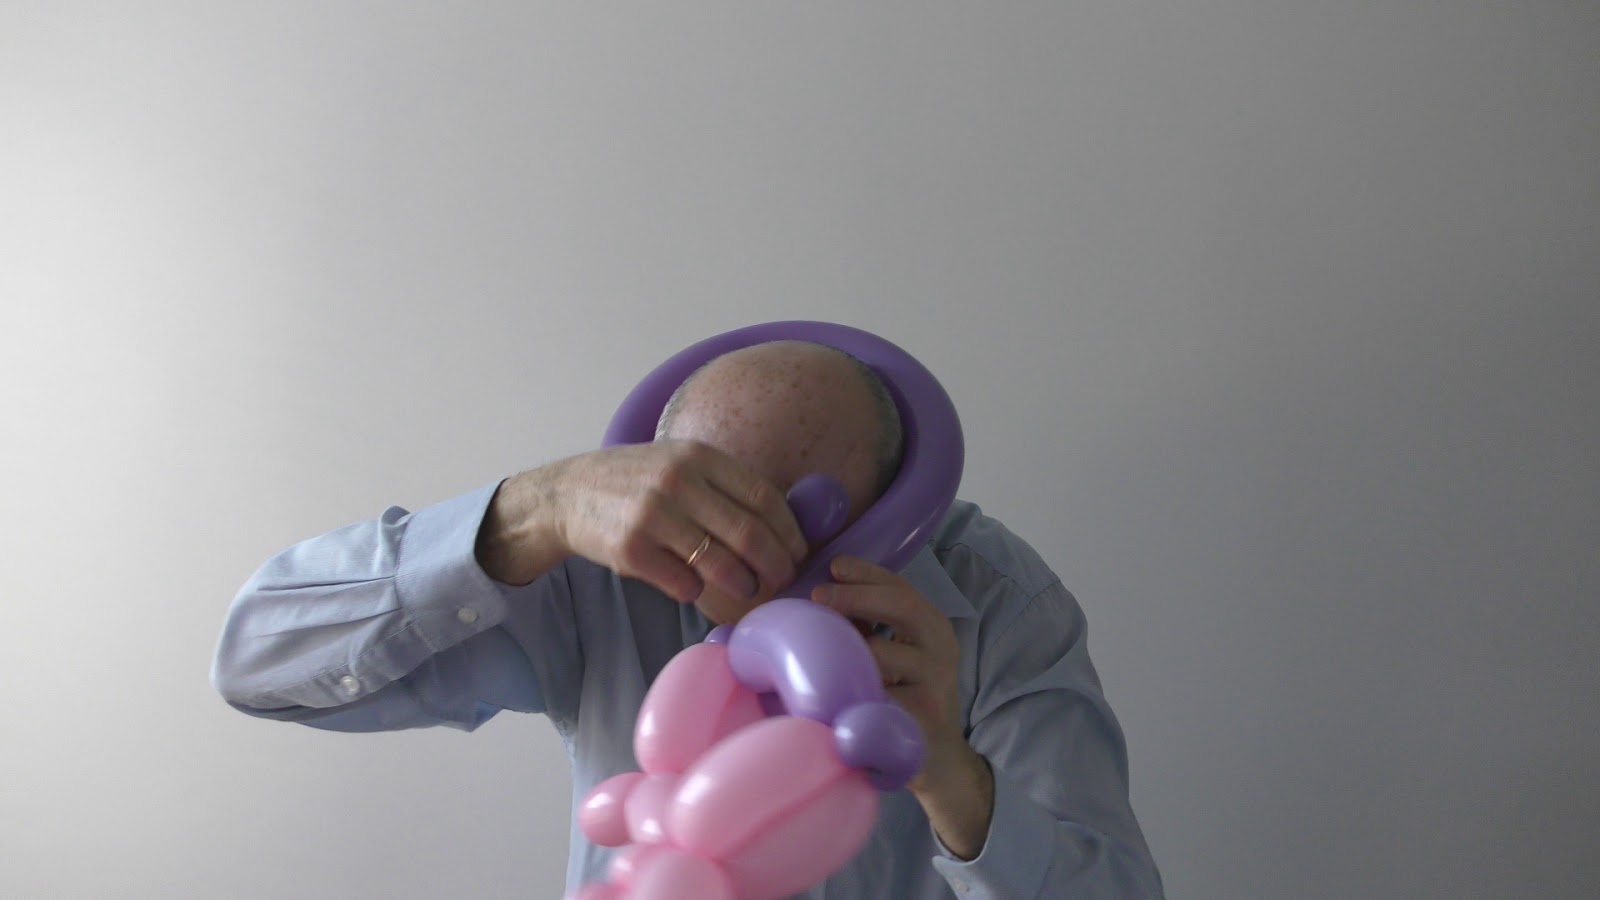
Put the sculpture on your head.
Here is the front view.

Shack your head slightly - the horse will rock!
Have fun and happy twisting :)

Oh WOW ! I always wanted to know and learn how to do this balloon art . Thank you so much for posting this online. This will be really useful to me. Thanks again.
ReplyDeleteMy pleasure!
DeleteWish you all the best on your new adventure!