

Buy balloons on Amazon (paid link):
Buy an air pump on Amazon (paid link):

Measure the long bubble starting from the nipple to make the blade. Make sure this bubble is firm - the firmer the better. Force some more air inside of the bubble and then twist it (Pic 2). Usually I make the blade about two length of the handle.

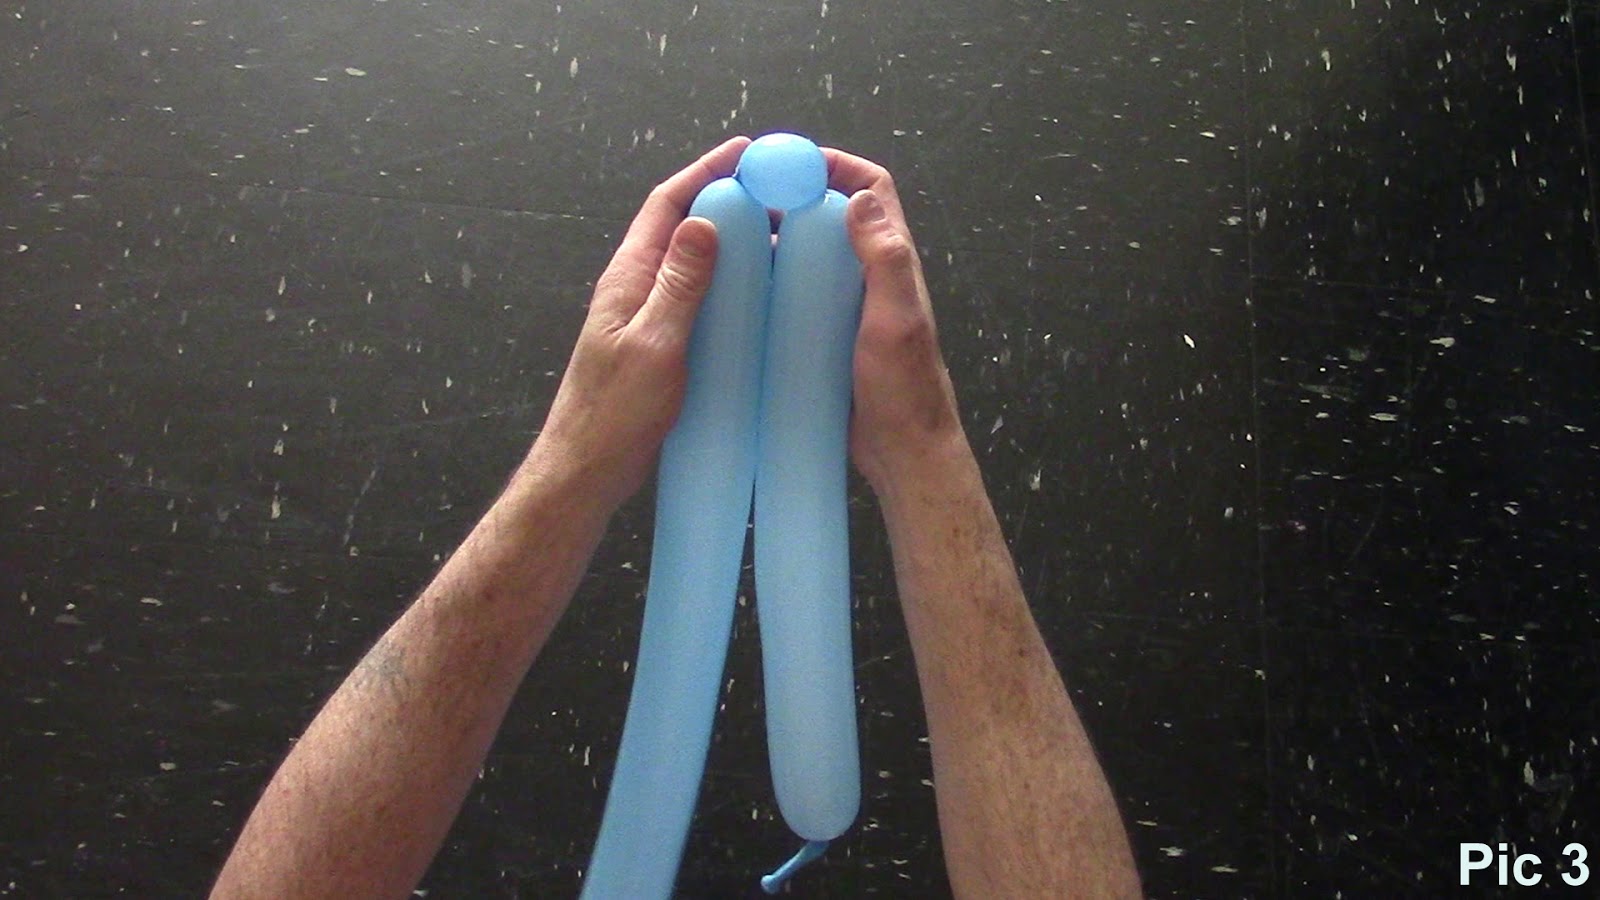
Twist the next three about 3 cm long bubbles (Pic 3).
Lock all ends of the last three small bubbles in one lock twist (Pic 4).

Congratulations! We have made one balloon lightsaber or one balloon sword (Pic 5).

We can make the same sculpture using two balloons instead of one. In the following example I am going to use white balloon to make the handle and green, blue or red balloon to make the blade. Inflate white balloon starting from the nipple side (Pic 6).

Measure the size of the handle starting from the nipple side of the balloon. I like to make the handle long enough for two hands grip (Pic 7).

Twist the handle bubble of desirable size and make sure to make it firm - push air inside of the bubble before you twist it. Then twist the next two about 3 cm long bubbles (Pic 8).

Lock all ends of the last two bubbles in one lock twist (Pic 9). We have made the simplest handle with two small bubbles.

Twist and lock the third small about 3 cm bubble. Optional you can twist and lock the fourth small about 3 cm bubble (Pic 10). I usually make handle with three small bubbles. I use the handle with two or with four small bubbles only to make the new generation red lightsaber that comes with two additional short blades. It basically has the same look as the classic sword in a shape of cross.

Cut of the rest of the balloon and hide the knot between small bubbles of the handle (Pic 11). We have made the handle. In this example I show the handle with three small bubbles.

Now we have to make and attach the blade. Inflate any appropriate color balloon leaving no flat tail. Measure the size of the blade starting from the nipple side of the balloon. I make the blade about two length of the handle. Force the air inside of the blade bubble making it as firm as possible. Cut off the rest of the balloon and tie off the end (Pic 12).

Attach the blade bubble between small bubbles of the handle (Pic 13). Congratulations! You have made the lightsaber.

On the pictures below you will see lightsabers with three and with four small bubbles of the handle (Pic 14 - 16).


The new generation lightsaber come in a red color with additional two short blades at the base of the handle. We have to use even (two or four) number of small handle bubbles to attach additional blades (Pic 18).

I use in this example a red plastic drinking straw to make the additional short blades (Pic 19).

Force the straw between small bubbles of the handle (Pic 20). Congratulations! You have made the new generation lightsaber.

Using handle with three small bubbles is not practical for this kind of lightsaber for obvious reason - asymmetry (Pic 21 and 22).


We can use red bubbles to make additional blades. Inflate one bubble about the same size as the handle (Pic 23).

Split the bubble on two bubbles of the same size. I think it looks better if the blades shorter than the handle (Pic 24).

Force the additional blades between small bubbles of the handle. Fix all bubbles in proper positions. The lightsaber should have shape of the cross (Pic 25 and 26). Congratulations again! We have made lightsaber.


Here you can take one more look at all lightsabers that we have made today (Pic 27 - 29). Have fun and may the Force be with you!


Thought these were dildo sabers at first glance
ReplyDeleteTake a look on sculptures on this playlist: https://www.youtube.com/watch?v=5bDT_4BEg0M&list=PL-_6Q6PUaF1UQvCZJ00nyvfSxy42Zen_S
ReplyDelete