Supplies: a balloon, an air pump, scissors, a permanent black marker and white correction liquid.
Buy balloons on Amazon (paid link):
Buy an air pump on Amazon (paid link):
Twist the first about 8 cm bubble.
Twist the next about 2-3 cm bubble.
Lock both ends of the last bubble in one lock twist.
This bubble represents an arm.
Twist the next about 8 cm bubble.
Twist the next about 2-3 cm bubble.
Lock both ends of the last bubble in one lock twist.
This bubble represents the second arm.
Lock the last bubble with the nozzle of the balloon.
Twist the next about 8 cm bubble.
Lock the free end of the last bubble with the small arm bubble.
Twist the next about 8 cm bubble.
Lock the free end of the last bubble with the other small arm bubble.
Here is the front/ back view
This is the side view of the sculpture.
We are going to twist five bubbles to make two ears.
Twist the next about 6-8 cm bubble.
It is an ear bubble.
Twist a chain of the next three about 2-3 cm each bubbles.
Twist the next about 6-8 cm bubble.
It is the other ear bubble.
Lock the free end of the last bubble with the small arm bubble.
Lock both ends of first small ear bubble in one lock twist.
Lock both ends of the third small ear bubble in one lock twist.
The front and the back of the sculpture looks the same.
Twist the next about 4-5 cm bubble.
Twist the next about 4-5 cm bubble.
Lock the free end of the last bubble with the small arm bubble.
The last two bubbles represent legs.
The rest of the balloon is the tail.
Bend the rest of the balloon to shape the tail.
Use scissors to cut the small middle ear bubble.
Here is the front view of the sculpture.
Here is the side view of the sculpture.
Untwist and deflate one small ear bubble and tie the end.
Untwist and deflate the other small ear bubble and tie the end.
Force the large ear bubbles between bubbles of the sculpture.
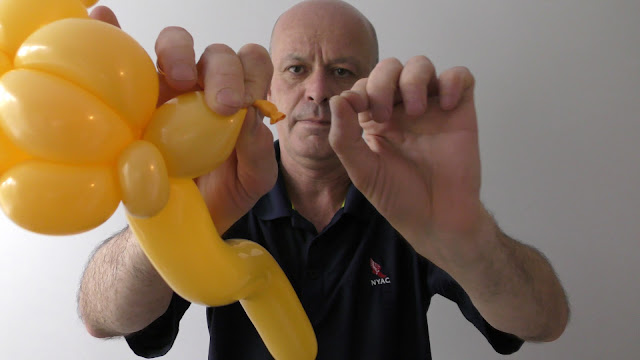
Fix all bubbles in proper positions.
Use scissors to trim off ends of the ears.
We have made the Pikachu out of one balloon.
Use a permanent black marker to draw the eyes, mouth, tips of the ears and the the tail.
Use a white correction liquid to paint the eyes.
Congratulations! We have made one balloon Pikachu.
We can use the sculpture as it is.
The sculpture looks nice attached to a stick (force end of a plastic straw between bubbles of the sculpture).
Here is the side view.
Here is the back view.
Here is another side view.
We can wear this sculpture as a bracelet.
Attach ends of another flat balloon to the small arm bubbles of the sculpture.
Here is the front view.
Here is the back view.
Have fun and happy twisting :)


I really loved reading your blog. I also found your posts very interesting. In fact after reading, I had to go show it to my friend and he ejoyed it as well!
ReplyDeleteOccupational Therapy Center
Thank you very much!
DeleteNice! you are sharing such helpful and easy to understandable blog in decoration. i have no words for say i just say thanks because it is helpful for me.
ReplyDeleteSensory Autism
Thank you very much!
DeleteGreat post. I’m not very good at writing about writing. But anyways, I love reading your article. Very well informative. All the stuffs about American Academy which has been discussed here is indeed interesting! Thank you for sharing it with us!
ReplyDeletePediatric Occupational Therapy and Early Intervention
Thank you very much!
ReplyDeleteThank you very much!
ReplyDeleteThank you
ReplyDeleteThank you very much!!
ReplyDeleteWell thanks for sharing but Admin this website is really useful for me thank you for sharing keep it up.. Reading a lots wonderful blogs on instagram, please visit site profile picture
ReplyDeletethat was an amazing article! making funky animals with party balloons is taking fun to next level
ReplyDeletehttps://maniplants.blogspot.com/
ReplyDelete