Buy balloons on Amazon (paid link):
Buy an air pump on Amazon (paid link):
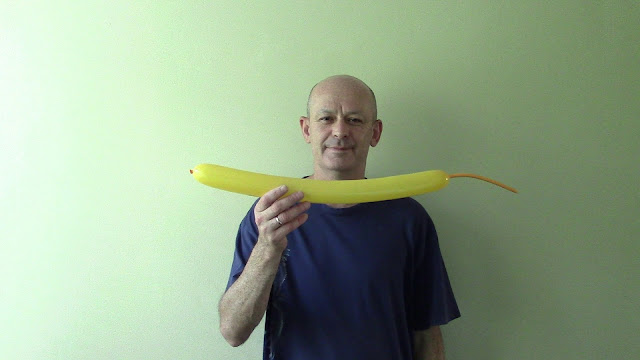
I am going to make green hat with yellow vertical stripes - you may use different colors. I will start from the top of the hat. The top of the hat will have a shape of five pointed star (view from the top of the hat). Each horizontal (green) row will consist of ten bubbles. All green rows will be connected to each other by small yellow bubbles (vertically). I want to make the top of the hat two or three times wider than the base of the hat. And I want the brim of the hat of the same size or wider than the top of the hat. It is the classic vase shape if you flip the hat over. Inflate ten yellow balloons leaving about 17 cm flat tails.
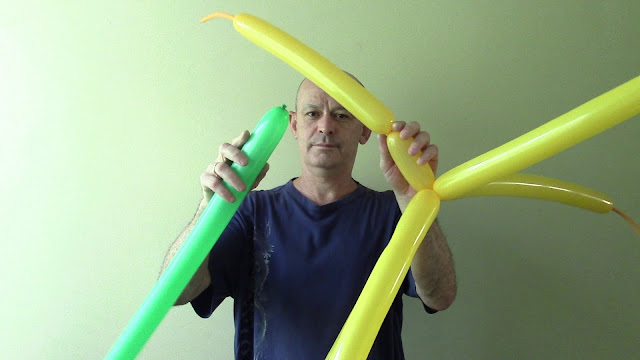
Tie nozzles of five yellow balloons in one knot - it is the center of the hat (the first set of five yellow balloons).
Now, let's prepare the other five yellow balloons (the second set). Twist the first about 3 cm bubble.
Lock both ends of the first yellow bubble in one lock twist.
Prepare the rest of the yellow balloons in the same way - it's the second set of five yellow balloons.
Remember, I want to make the top of the hat very wide! It would take about two balloons to make the first horizontal green row. It would take less balloons to make following rows until we start making the brim of the hat. Therefore, we have to inflate green balloons leaving different size flat tail. Inflate the first green balloon leaving about 7 cm flat tail.
Take the set of the first five yellow balloons tied in one knot. We are going to make all bubbles of the same row of the same size. I give you only approximately estimated size of all bubbles - use your own judgment! Twist the first yellow about 12-14 cm bubble.
Tie the nozzle of the green balloon to the free end of the first yellow bubble. Twist the first green about 20 cm bubble.
Lock the free end of the first green bubble with a small yellow bubble of one of the yellow balloons of the second set.
Twist the following green bubble of the same size as the first green bubble - remember to make all bubbles of the same row of the same size.
Twist the first yellow bubble of the next balloon of the first set.
Lock the free end of the last yellow bubble with the last green bubble. We have made the first point of the star.
Work the rest of the first row in the same way. Measure and twist the next green bubble.
Lock the free end of the last green bubble with the first yellow bubble of one of the balloons of the second set.
Work in this fashion to the end of the green balloon.
Attach the next green balloon once you run out of the first green balloon.
Work all way around the sculpture to complete the first green row.
We have made the top of the hat.
There is no enough of the green balloon left to make bubbles of the next row. So, I cut off the rest of the green balloons and tie off the ends.
From now on, we are going to make all yellow bubbles of the same about 2-3 cm size. Attention! The size of the bubbles should not exceed diameter of the balloons. Making larger size yellow bubbles will leave gapes between green rows. We can start the row from any yellow balloon. I prefer to start from the balloon of the first set. Twist yellow bubble.
Lock the free end of the last yellow bubble with the nozzle of the new green balloon.
We are going to twist all green bubbles of the second row about 2-3 cm shorter than bubbles of the first row. Twist the first green bubble of the second row.
Twist the yellow bubble of the nearest yellow balloon.
Lock the free end of the green bubble with the last yellow bubble.
Twist the yellow bubble of the next yellow balloon. Twist the next green bubble.
Lock the free ends of the last green and the last yellow bubbles.
Work around the sculpture in the same way to complete the second row. Add new green balloon as it necessary. I don't cut off the rest of the green balloons preferring to simply hide them inside of the hat.
In this example I have enough of the green balloon left from the second row to make one or two bubbles of the third row. We can do it without cutting off the green balloon.
Twist the yellow bubble.
Squeeze the green balloon to make some flat space between the last green bubble and the rest of the green balloon. Lock the rest of the green balloon with the free end of the last yellow bubble.
Twist all green bubbles of the third row about 2-3 cm shorter than bubbles of the second row.
Twist the yellow bubble of nearest balloon.
Lock the free end of the last yellow bubble with the free end of the last green bubble.
Work the rest of the third bubble in the same fashion.
Keep working in this fashion as many rows as it takes decreasing size of bubbles in each row for about 2-3 cm until you make the row of the size that will fit your head. I work in decrease 9 rows in this example to the desirable size.
The size of the bubbles in the 9th row is about 5-6 cm each.
Put the hat on to check how well it fits/
Work the 10th row making bubbles of about the same 5-6 cm size.
Put the hat on after you completed 10th row to see how well it fits.
Work the 11th row making bubbles of the same about 5-6 cm size.
I make three rows of the same size bubbles to insure that the hat is well balanced and fits firmly on my hat.
From here on I am going to increase size of bubbles in each following row to make the brim of the hat. Twist bubbles of the next and each following row making them about 3 cm longer than bubbles of the previous row.
Work in this fashion to make as many rows for the brim as you like.
I made 4 rows for the brim in this example.
We can fix the brim in desirable wave shape using small bubbles at the edge of the brim. Twist the small yellow bubble.
Lock both ends of the last yellow bubble in one lock twist. Work all yellow balloons in the same way.
Cut off the rest of the yellow and green balloons. Congratulations! We have made the hat. Now, we can pull the last yellow bubbles up and down to wave the brim of the hat. Or we can pull them all up or all down to make the flat brim. We can use this sculpture as a vase - just flip it upside-down. We can use the same technique to make many different sculptures of different colors, shapes and sizes: hats, vases, skirts, dresses and etc.
Have fun and happy twisting :)


No comments:
Post a Comment